Speech to Text Mac Shortcut: Enable and Use Mac Dictation
Mac has built-in speech to text through its Dictation feature. The shortcut is simpler than most people expect — here's how to activate it, configure it, and get better results from it.
Mac has had built-in speech to text for years, but many users don't know where the shortcut is or how to turn it on. This article covers exactly that — the shortcut, how to enable Dictation, and what to do when it doesn't work the way you'd expect.
What Is the Mac Speech to Text Shortcut?
The default Mac speech to text shortcut depends on which keyboard you have:
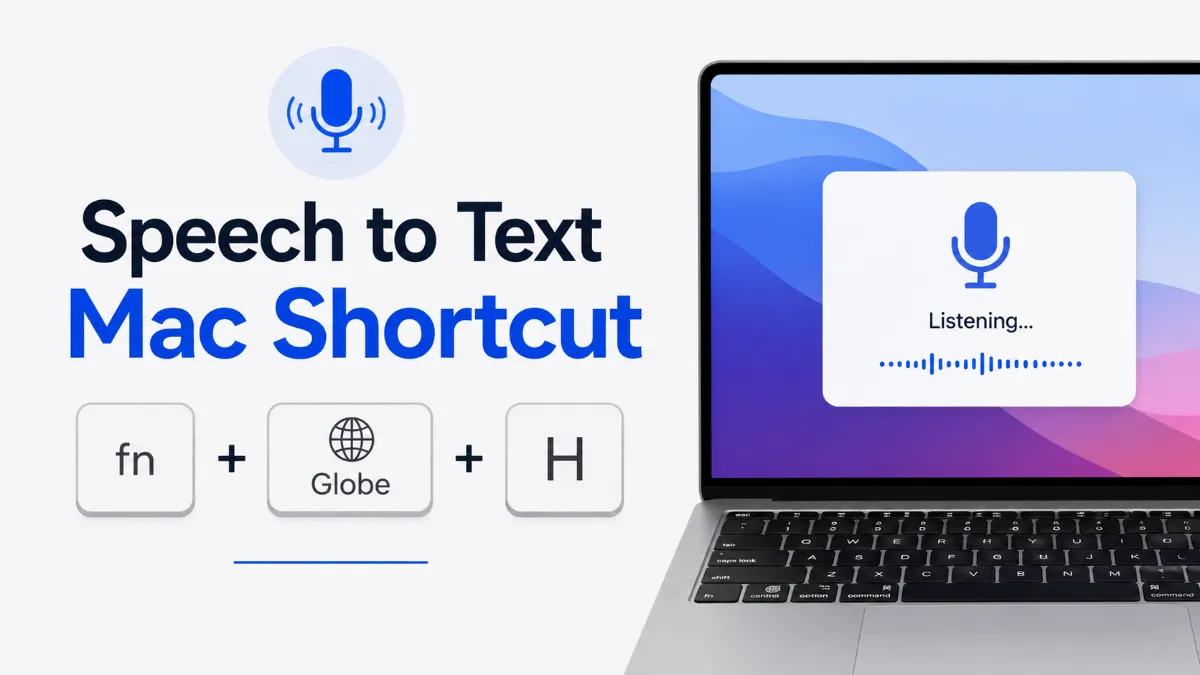
Most Macs: Press thefn key twicein quick succession. A microphone icon appears onscreen indicating Dictation is active.
Macs with a Globe key(newer keyboards): PressGlobe + D, or in some configurations, just theGlobe key alone.
Once Dictation is active, speak naturally. When you pause for more than a second or two, macOS transcribes what you said into the active text field. Press the fn key or Globe key again to stop.
This shortcut works anywhere you can type — documents, emails, search bars, messaging apps, and browser address bars.
Quick Tip: For fastest access, set up a custom shortcut in System Settings > Keyboard > Dictation. Many users switch from the double-fn default to Option+D or a single Globe key press.
How to Enable Dictation on Mac
If the shortcut isn't working, Dictation may be turned off. Here's how to enable it:
OpenSystem Settings(or System Preferences on older macOS versions)
ClickKeyboard
Scroll down to theDictationsection
ToggleDictationtoOn
Choose your language from the dropdown
The first time you enable it, macOS may download a small language file. After it's ready, the shortcut will work.
On macOS Monterey or earlier, the path is: System Preferences > Keyboard > Dictation.
Customizing the Dictation Shortcut
The default fn fn shortcut is functional but requires two key presses, which some users find awkward. You can change it:
Go toSystem Settings > Keyboard > Dictation
Look for theShortcutdropdown
ChooseCustomizeto set any key combination you prefer
Popular alternatives:
Globe keyalone (if your Mac has one) — single press is faster
Option + D— easy to reach and doesn't conflict with most apps
Control + D— common in professional workflows
The shortcut change takes effect immediately.
How Mac Dictation Works
When you activate Dictation, your Mac captures audio from the selected microphone and sends it to Apple servers for transcription. The result appears in your text field in near-real time.
For offline use: In System Settings > Keyboard > Dictation, look for an option to use dictation offline. On macOS Ventura and later, this is called "Use Dictation When Not Connected to the Internet." Enabling it downloads a local language model so Dictation works without a network connection. Accuracy is comparable to online mode for standard speech.
Microphone selection: Dictation uses whatever macOS has set as the default input. To check or change this, go to System Settings > Sound > Input. AirPods, external USB microphones, and built-in mics all work — external mics typically produce better accuracy, especially in noisy environments.
Using Dictation in Common Apps
Dictation works in most standard macOS applications:
Pages, Word, Google Docs— Works well. Place your cursor where you want the text, then activate Dictation.
Mail— Works in the compose window. Activate Dictation after clicking into the message body.
Messages— Works in the chat field. Good for composing longer messages without typing.
Safari and Chrome— Works in text fields and address bars. For the address bar, you can say a domain name and macOS will transcribe it.
Terminal and code editors— Dictation works but is generally not suitable for code because it interprets punctuation differently (a period becomes a full stop, not a code separator). For technical writing, manual typing or specialized coding tools work better.
Punctuation and Commands
Mac Dictation supports verbal punctuation commands. You can say:
"period" → .
"comma" → ,
"question mark" → ?
"exclamation point" → !
"new line" → moves to the next line
"new paragraph" → inserts a paragraph break
You do not need to pause before punctuation commands — say them naturally in the flow of your sentence: "The weather is fine comma but the forecast looks rough period"
For longer documents, saying "new paragraph" frequently helps maintain readable formatting.
Troubleshooting Common Dictation Issues
Shortcut not working: Check that Dictation is enabled in System Settings > Keyboard and that the shortcut matches what you're pressing.
No microphone icon appears: Your cursor may not be in a text field. Click into a text input area first, then try the shortcut.
Poor accuracy: Try speaking more slowly and clearly. External microphones significantly improve accuracy, especially in open environments. Check that the correct input device is selected in System Settings > Sound > Input.
Dictation stops too quickly: By default, macOS ends Dictation after a pause. If you need to pause mid-thought, practice continuing without long breaks, or use a third-party tool (below) that supports continuous dictation.
Voice Control vs. Dictation: Key Differences
Mac has two separate voice input systems that are often confused: Dictation and Voice Control. They serve different purposes and activate differently.
Feature
Dictation
Voice Control
Primary use
Convert speech to text
Control the entire Mac by voice
How to activate
Press Fn twice (or custom shortcut)
Say "Wake up" after enabling in Accessibility
Works in
Any text input field
System-wide — menus, buttons, text fields
Needs internet?
Partial (on-device available)
No (fully on-device)
Best for
Typing by voice in any app
Hands-free Mac operation
For most users who want to type by voice, Dictation is the right tool. Voice Control is designed for full hands-free Mac operation — useful for users with motor impairments who need to navigate menus and click buttons entirely by voice.
Language not matching: If Dictation is transcribing in the wrong language, check the language setting in System Settings > Keyboard > Dictation.
Third-Party Speech to Text Tools for Mac
Mac Dictation covers most standard use cases well, but some users need more:
Whisper(local, open-source): Runs entirely on your Mac with no data sent to servers. High accuracy, but requires command-line setup. Good for privacy-sensitive transcription.
Dragon for Mac: Professional-grade dictation with extensive vocabulary customization and continuous dictation mode. Designed for medical, legal, and high-volume professional use.
Otter.ai: More useful for meeting transcription than keyboard dictation. Records and transcribes audio in real time with speaker identification.
Apple Intelligence(macOS Sequoia+): Enhanced AI transcription built into newer macOS versions, with improved accuracy and on-device processing.
For most users, the built-in Dictation is sufficient. The main reasons to look at third-party tools are: privacy (Whisper), extended sessions without pausing (Dragon), or transcription of recorded audio rather than live speech (Otter).
The Mac speech to text shortcut takes 30 seconds to set up. Once Dictation is enabled and you know the shortcut, it's one of the fastest ways to get text onto the screen without touching the keyboard. For the reverse — having your text read back to you —AI Listenconverts documents and written content into natural-sounding audio, a handy complement if you regularly dictate.
On most Macs, pressing the fn (Function) key twice starts Dictation. On newer Macs with a Globe key, pressing Globe+D or just Globe activates it. You can also customize this shortcut in System Settings > Keyboard > Dictation.
How do I enable speech to text on Mac?
Go to System Settings > Keyboard, then scroll to the Dictation section and toggle it On. Once enabled, use your configured shortcut to start dictating. The first time you enable it, macOS may download a language pack.
Does Mac dictation work offline?
Basic Mac Dictation sends audio to Apple servers for processing. For offline use, enable Enhanced Dictation (macOS Ventura and later calls this simply "offline mode"). Go to System Settings > Keyboard > Dictation and look for the option to use dictation when not connected to the internet. Offline dictation has similar accuracy but does not support continuous dictation on older systems.
Why is my Mac not responding to the speech to text shortcut?
If pressing fn fn doesn't start Dictation, check that it's enabled in System Settings > Keyboard > Dictation. Also verify your microphone is working — macOS will use the current default input device. In some apps, the cursor must be placed in a text field before Dictation activates. Restarting the app or toggling Dictation off and on often resolves issues.
Can I change the Mac speech to text keyboard shortcut?
Yes. Go to System Settings > Keyboard > Dictation and use the shortcut picker to set a custom key combination. Common alternatives include Option+D or a single Globe key press. The default (fn fn) can also be kept if it doesn't conflict with other shortcuts in your workflow.
Tutorials
Share this article:
Table of Contents
What Is the Mac Speech to Text Shortcut?
How to Enable Dictation on Mac
Customizing the Dictation Shortcut
How Mac Dictation Works
Using Dictation in Common Apps
Punctuation and Commands
Troubleshooting Common Dictation Issues
Voice Control vs. Dictation: Key Differences
Third-Party Speech to Text Tools for Mac
Ready to Transform Your Study Sessions?
Join 50,000+ students using AI Listen to study smarter. Free forever plan available.
AI story generators turn prompts into structured drafts for fiction, marketing, and education. In this guide, we cover how AI story generators work, their core features, benefits, limitations, and how to choose the right AI Story Generator.
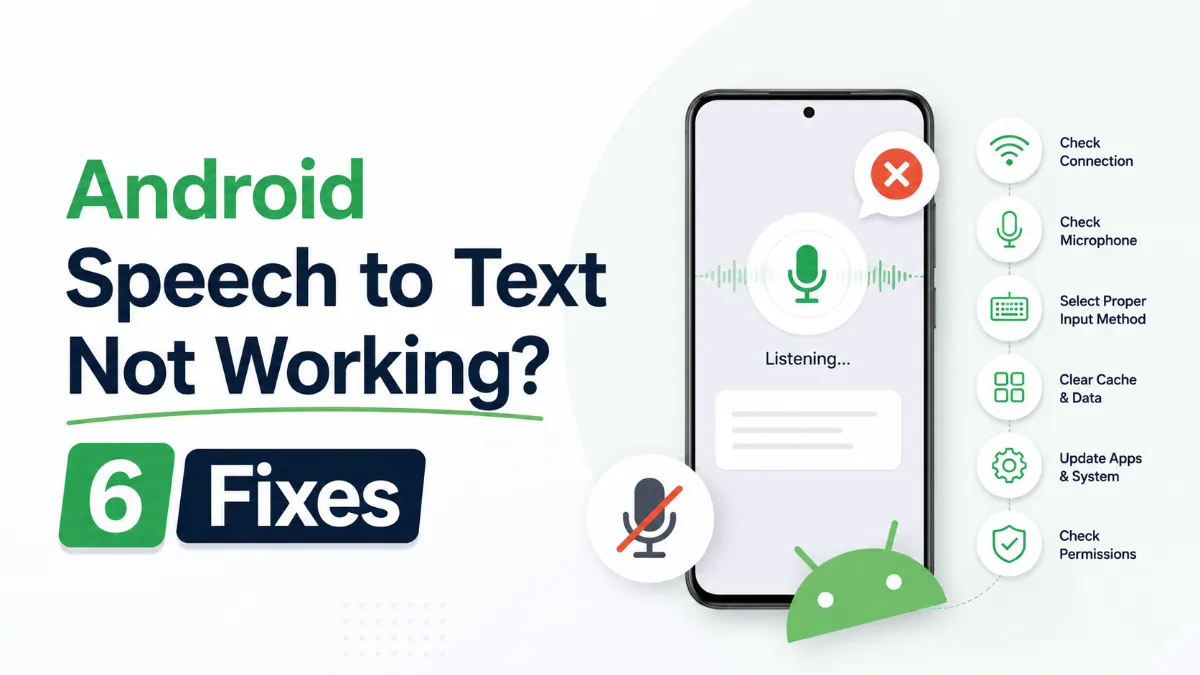
Android speech to text failures usually trace back to a small set of causes: permissions, cache buildup, language mismatches, or internet dependency. Here are six fixes that cover the most common cases, in order of effort.
The Android text to speech engine is the system-level layer that converts text to audio for all apps on your phone. Most users never change it — but knowing how to switch engines, download better voices, and configure it correctly can significantly improve TTS quality.
Android’s text to speech tools range from a built-in accessibility engine to dedicated apps designed for longer listening sessions. This guide covers how to use each, and which option fits your workflow.
Assistive technology for dyslexia is more than a list of apps. This guide explains which tools matter most, who they help, and how to choose support that improves reading and learning in practice.