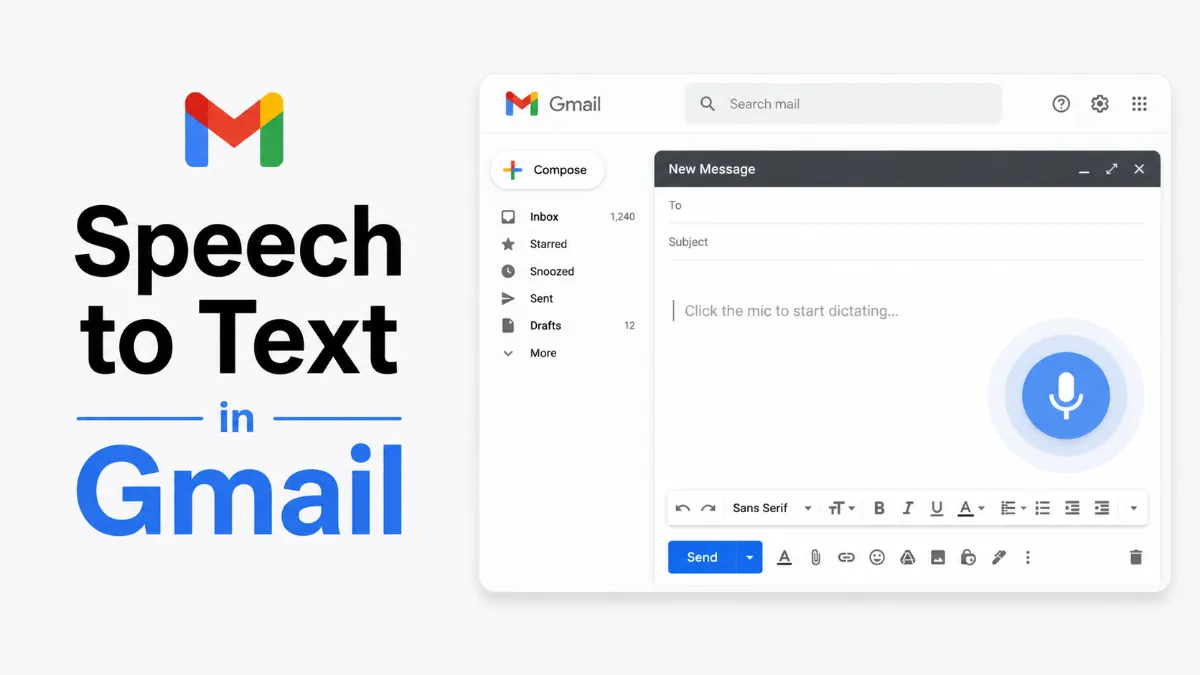
Gmail doesn't have a dedicated speech to text button in the compose window. But that doesn't mean you can't dictate emails — it means you need to use the right tool for your device. On mobile, it's the keyboard microphone. On desktop, it's either your OS dictation shortcut or Google Docs Voice Typing.
This guide covers all the practical ways to use speech to text for Gmail composing, across every major device and platform.
The most straightforward way to dictate in Gmail on a phone is through the device keyboard.
On iPhone:
Open Gmail and tap Compose to start a new email
Tap in the message body so the keyboard appears
Tap the microphone icon on the keyboard (bottom row, near the space bar)
Speak your email — words appear as you speak
Tap the microphone again to stop, then review and send
This uses iOS Dictation and works as well as dictation in any other iOS app. Say "new paragraph" or "period" to add punctuation.
On Android:
Open Gmail and tap Compose
Tap in the message body
Tap the microphone icon on the Gboard keyboard
Speak your email content
Tap the microphone to stop dictation
Android uses Google's voice input, which is well-integrated with Gmail. It handles natural speech well and catches punctuation in context.
On Mac, the system Dictation feature works directly in Gmail's compose window.
Using Mac Dictation:
Open Gmail in any browser and click Compose
Click into the message body
Press fn twice (or Globe+D on newer Macs) to activate Dictation
Speak your email content — text appears directly in Gmail
Press fn again to stop
No extensions or additional setup needed. Mac Dictation works in any web browser's text field, including Gmail.
Using Google Docs Voice Typing (alternative approach):
Open a new Google Doc at docs.google.com
Go to Tools > Voice Typing (or press Ctrl+Shift+S on Mac with the shortcut enabled)
Click the microphone icon and dictate your email
When done, select all (Cmd+A), copy (Cmd+C)
Paste into Gmail's compose window
Google Docs Voice Typing has more punctuation commands and runs inside the Google ecosystem, which some users find more accurate for email content.
Windows 10 and 11 have built-in voice typing that works in any text field.
Using Windows Voice Typing:
Open Gmail in any browser and click Compose
Click into the message body
Press Windows key + H to open Voice Typing
Speak your email content
Click the microphone icon or press Windows+H again to stop
Windows Voice Typing handles punctuation automatically in Windows 11 — you don't need to say "period" or "comma," as the system infers them from natural speech patterns. This makes it one of the more natural dictation experiences for email.
Using Google Docs Voice Typing on Windows is the same process as on Mac — open Google Docs, use Tools > Voice Typing, draft there, then paste into Gmail.
For users who want direct speech-to-text in Gmail's compose window without switching tools, the Voice In Plus Chrome extension adds a microphone button directly to text fields across any website, including Gmail.
Once installed:
Click the microphone button that appears in the Gmail compose field
Speak your email
Dictation appears directly without needing to switch to Google Docs
Voice In Plus has a free tier with basic dictation and a paid tier with punctuation commands and additional language support. It's one of the most popular solutions for people who dictate frequently in Gmail on desktop.
Both voice assistants can compose and send Gmail messages, though with significant limitations.
Siri on iPhone (works with Gmail if set up as default mail app):
Say "Hey Siri, send an email to [contact name] saying [message content]." Siri will read back the message and ask you to confirm before sending. Works best for short messages — for anything longer than a sentence or two, using keyboard dictation directly is faster.
Google Assistant on Android:
Say "OK Google, send an email to [contact name]" and follow the prompts. Similar to Siri — good for quick messages, limited for complex professional emails.
Neither assistant handles formatting well (no paragraph breaks, no subject line control), so they're best reserved for quick, informal emails rather than professional correspondence.
Dictate the subject line separately: Click the Subject field, dictate it, then click the Body and dictate the message. This avoids subject-body confusion.
Use templates as a starting point: If you frequently send similar emails, type out a template and use dictation only for the variable parts.
Punctuate as you go: Even if your system supports automatic punctuation, explicitly saying "comma," "period," and "new paragraph" gives more reliable results for professional emails.
Proofread before sending: Dictated emails almost always need a quick review — proper nouns, technical terms, and punctuation are the most error-prone areas.
Use a headset or external mic: In office environments, background noise significantly reduces dictation accuracy. A headset mic produces much better results than the built-in laptop microphone.
Tool | Device | Setup Required | Best For |
|---|---|---|---|
iOS/Android keyboard mic | Mobile | None (built-in) | Quick mobile email dictation |
Mac Dictation (fn fn) | Mac desktop/laptop | Enable in Settings | Direct in-browser Gmail dictation |
Windows Voice Typing (Win+H) | Windows desktop/laptop | Enable in Settings | Direct in-browser Gmail dictation |
Google Docs Voice Typing | Any desktop | Open Google Docs tab | Longer emails, better punctuation control |
Voice In Plus extension | Chrome/Edge | Install extension | Power users who dictate frequently in Gmail |
For most users, the OS-level dictation shortcut (Mac Dictation or Windows Voice Typing) is the most convenient desktop option — no extension to install and no tab to switch. On mobile, the keyboard microphone is already there. If you also want to hear your emails read back to you before sending, AI Listen handles that with natural AI voices — catching dictation errors by ear is often faster than reading visually.