Text to Speech Mac Shortcut: Make Your Mac Read Text Aloud
Mac can read any selected text aloud through its Spoken Content feature. The default shortcut is Option+Esc — here's how to enable it, customize it, and get better results from it.
Mac has a built-in text to speech system called Spoken Content that can read any selected text aloud. Most users don't know it's there or how to access it — but once you activate the shortcut, it becomes a useful tool for proofreading, hands-free reading, and accessibility.
The Mac Text to Speech Shortcut
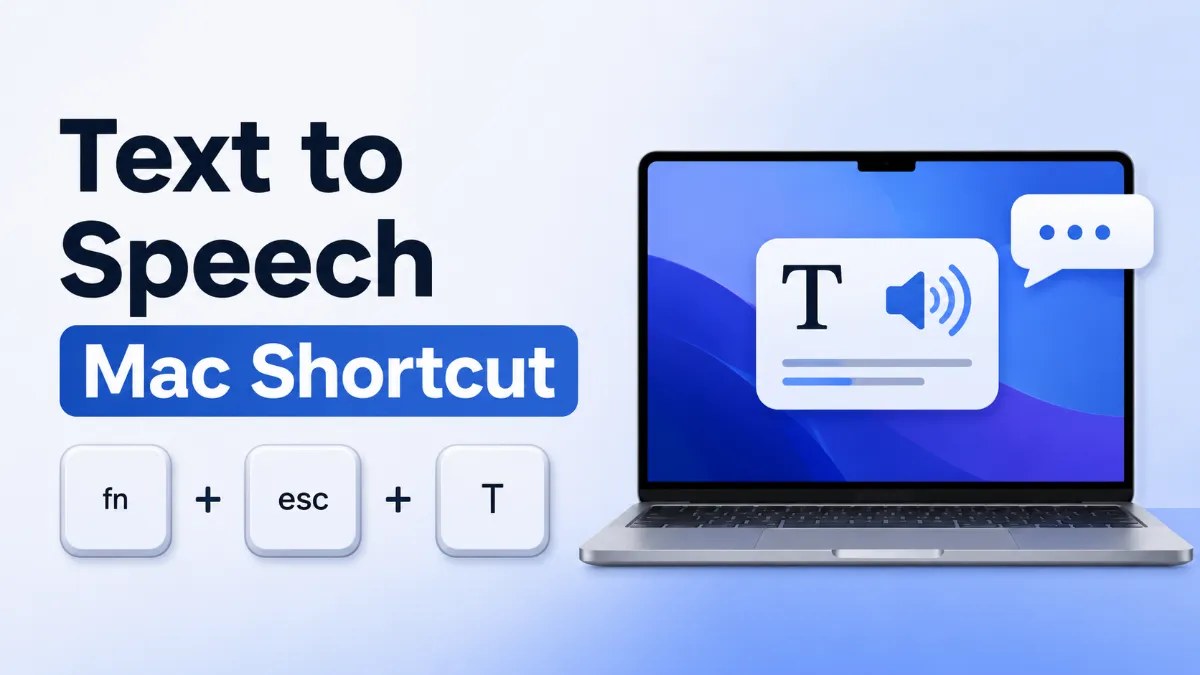
The default shortcut for Mac text to speech isOption+Esc.
To use it:
Select the text you want read aloud (highlight it with your cursor)
PressOption+Esc
The Mac will begin reading the selected text aloud
PressOption+Escagain to stop, or let it finish
This shortcut only works after you've enabled Spoken Content — see the section below for how to turn it on.
Quick Tip: You can change the system voice used for Spoken Content in System Settings > Accessibility > Spoken Content > System Voice. Voices like Siri's voice and neural voices are available to download and offer significantly better quality than the default.
How to Enable Text to Speech on Mac
Spoken Content (the feature that controls Mac text to speech) is in the Accessibility settings:
OpenSystem Settings
ClickAccessibility
ClickSpoken Content
ToggleSpeak selectiontoOn
Once enabled, the Option+Esc shortcut will be active. If you prefer a different key combination, click the keyboard icon next to "Speak selection" to assign a custom shortcut.
On macOS Monterey or earlier, the path is: System Preferences > Accessibility > Spoken Content.
Customizing the Text to Speech Shortcut
If Option+Esc conflicts with another app or you simply want something more convenient, you can change it:
Option+S— quick to reach and doesn't conflict with most apps
F5— function key if you have it mapped to actions
Control+Option+S— avoids most app-level conflicts
The change takes effect immediately.
Spoken Content Features Beyond the Shortcut
The Spoken Content panel includes several options beyond the basic shortcut:
Speak item under pointer— When enabled, macOS reads aloud whatever is under your mouse cursor after a brief hover delay. Useful for accessibility workflows where you're navigating by mouse rather than keyboard.
Speak typing feedback— Reads each character or word as you type it. This is primarily for users with visual impairments who want audio confirmation of what they're typing.
Speaking rate— A slider that adjusts how fast the Mac reads. Most users find the default slightly fast — slowing it to 60-70% of default produces a more natural, easier-to-follow pace.
Speaking volume— Controls TTS volume independently of system volume, useful when you want TTS quieter than music or video playing simultaneously.
Changing the Mac Text to Speech Voice
The default system voice is functional but not particularly natural-sounding. Mac offers much better voices that are available to download:
Go toSystem Settings > Accessibility > Spoken Content
Click theSystem Voicedropdown
SelectCustomizeto see all available voices
Download any voice by clicking the download icon next to it
Recommended voicesfor natural-sounding TTS:
Siri (English)— the same voice as Siri, significantly more natural
EvanorAva— high-quality neural voices with clear, natural delivery
Aaron,Nathan, orNova— additional high-quality options depending on your macOS version
Neural voices are noticeably better than the older pre-downloaded defaults. The download is usually under 200MB per voice.
For AI TTS tools with more voice options and control over tone and style, apps likeAI Listenlet you listen to articles and documents with modern AI voices — a good complement to the Mac's built-in reading for longer content.
Mac TTS vs. Mac STT: Which Shortcut Do You Need?
Mac has two separate voice features that use similar shortcut keys — and they do opposite things:
Text to Speech (TTS) — Spoken Content
Speech to Text (STT) — Dictation
Direction
Mac reads text to you
Mac converts your voice to text
Default shortcut
Option+Esc (or custom)
Fn twice (or Globe+D)
Setup location
System Settings > Accessibility > Spoken Content
System Settings > Keyboard > Dictation
Best for
Proofreading, hands-free reading, accessibility
Composing text by voice, notes, emails
If you want to hear text read back — use Spoken Content (TTS). If you want to type by speaking — use Dictation (STT). The shortcuts are different, the settings panels are in different locations, and they do not interfere with each other.
Reading Full Pages and Documents
The Option+Esc shortcut reads only selected text. For longer documents, selecting everything manually is awkward. Mac offers two better options:
Speak screen: Reads all visible content from top to bottom. Enable it in System Settings > Accessibility > Spoken Content by toggling "Speak screen." The shortcut is typicallyOption+Escwith no text selected, or you can set a separate custom shortcut.
Select All + Speak selection: In any document, press Cmd+A to select all text, then Option+Esc to read the entire document. Works well for articles, PDFs, and documents.
Safari Reader View: When reading web articles in Safari, switching to Reader View (click the Reader icon in the address bar) and then using Speak selection gives cleaner TTS output without navigation elements, sidebars, or ads being read aloud.
Practical Use Cases for Mac TTS
Proofreading: Hearing your writing read back catches errors your eyes skip over. Writers routinely use this to find awkward phrasing and missing words before publishing.
Hands-free reading: If you're cooking, exercising, or otherwise occupied, TTS lets you consume articles and documents without looking at the screen.
Language learning: Hearing correct pronunciation of foreign language text helps connect written words to their sounds.
Accessibility: For users with reading difficulties, dyslexia, or visual impairments, Spoken Content is a core accessibility feature that makes written content accessible.
Long-form content: Reading long reports or research documents by ear is often faster and less fatiguing than reading on screen.
Quick Reference: Mac TTS Settings Location
Setting
Location
Enable TTS
System Settings > Accessibility > Spoken Content > Speak selection
Change shortcut
System Settings > Accessibility > Spoken Content > keyboard icon
Change voice
System Settings > Accessibility > Spoken Content > System Voice
Adjust reading speed
System Settings > Accessibility > Spoken Content > Speaking Rate
Enable full-page reading
System Settings > Accessibility > Spoken Content > Speak screen
For Mac users who want TTS for content listening beyond the built-in shortcut,AI Listenis the most direct option.
The Mac text to speech shortcut is immediately available once Spoken Content is enabled — no additional software or accounts required. For most use cases, the built-in feature is all you need.
The default Mac text to speech shortcut is Option+Esc. With text selected, pressing this key combination starts reading aloud. Pressing it again pauses or stops playback. You can change this shortcut in System Settings > Accessibility > Spoken Content.
How do I enable text to speech on Mac?
Go to System Settings > Accessibility > Spoken Content. Turn on 'Speak selection' to activate the text to speech shortcut. You can also enable 'Speak item under pointer' to have the Mac automatically read whatever element your mouse is hovering over.
Can I make Mac read a whole page or document, not just selected text?
Yes. When Spoken Content is active, you can use the 'Speak screen' shortcut (typically Option+Esc with full page reading enabled, or a two-finger swipe down from the top of the screen on some configurations). In System Settings > Accessibility > Spoken Content, the 'Speak screen' option lets the Mac read the entire visible content sequentially.
How do I change the voice used for Mac text to speech?
Go to System Settings > Accessibility > Spoken Content and click the System Voice dropdown. You can select from built-in voices or download additional voices including high-quality neural voices. Downloading a premium voice like 'Siri Female' or similar options significantly improves the naturalness of the speech output.
Does the Mac text to speech shortcut work in all apps?
The shortcut works in any app where text can be selected — browsers, documents, PDFs, and most native macOS apps. It also works in some third-party apps. However, it won't work on images, videos, or in apps where text cannot be selected or highlighted. For web articles and content that spans multiple apps, AI Listen offers TTS directly in the browser without any text selection required.
TTS
Tutorials
Share this article:
Table of Contents
The Mac Text to Speech Shortcut
How to Enable Text to Speech on Mac
Customizing the Text to Speech Shortcut
Spoken Content Features Beyond the Shortcut
Changing the Mac Text to Speech Voice
Mac TTS vs. Mac STT: Which Shortcut Do You Need?
Reading Full Pages and Documents
Practical Use Cases for Mac TTS
Quick Reference: Mac TTS Settings Location
Ready to Transform Your Study Sessions?
Join 50,000+ students using AI Listen to study smarter. Free forever plan available.
AI story generators turn prompts into structured drafts for fiction, marketing, and education. In this guide, we cover how AI story generators work, their core features, benefits, limitations, and how to choose the right AI Story Generator.
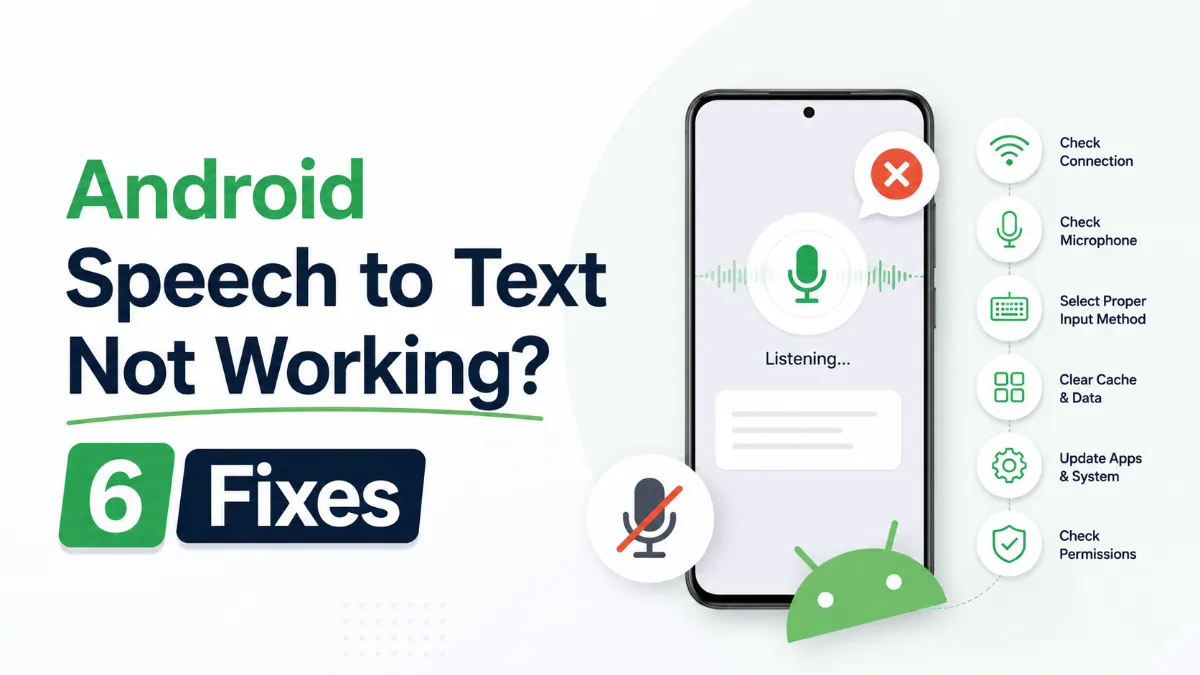
Android speech to text failures usually trace back to a small set of causes: permissions, cache buildup, language mismatches, or internet dependency. Here are six fixes that cover the most common cases, in order of effort.
The Android text to speech engine is the system-level layer that converts text to audio for all apps on your phone. Most users never change it — but knowing how to switch engines, download better voices, and configure it correctly can significantly improve TTS quality.
Android’s text to speech tools range from a built-in accessibility engine to dedicated apps designed for longer listening sessions. This guide covers how to use each, and which option fits your workflow.
Assistive technology for dyslexia is more than a list of apps. This guide explains which tools matter most, who they help, and how to choose support that improves reading and learning in practice.